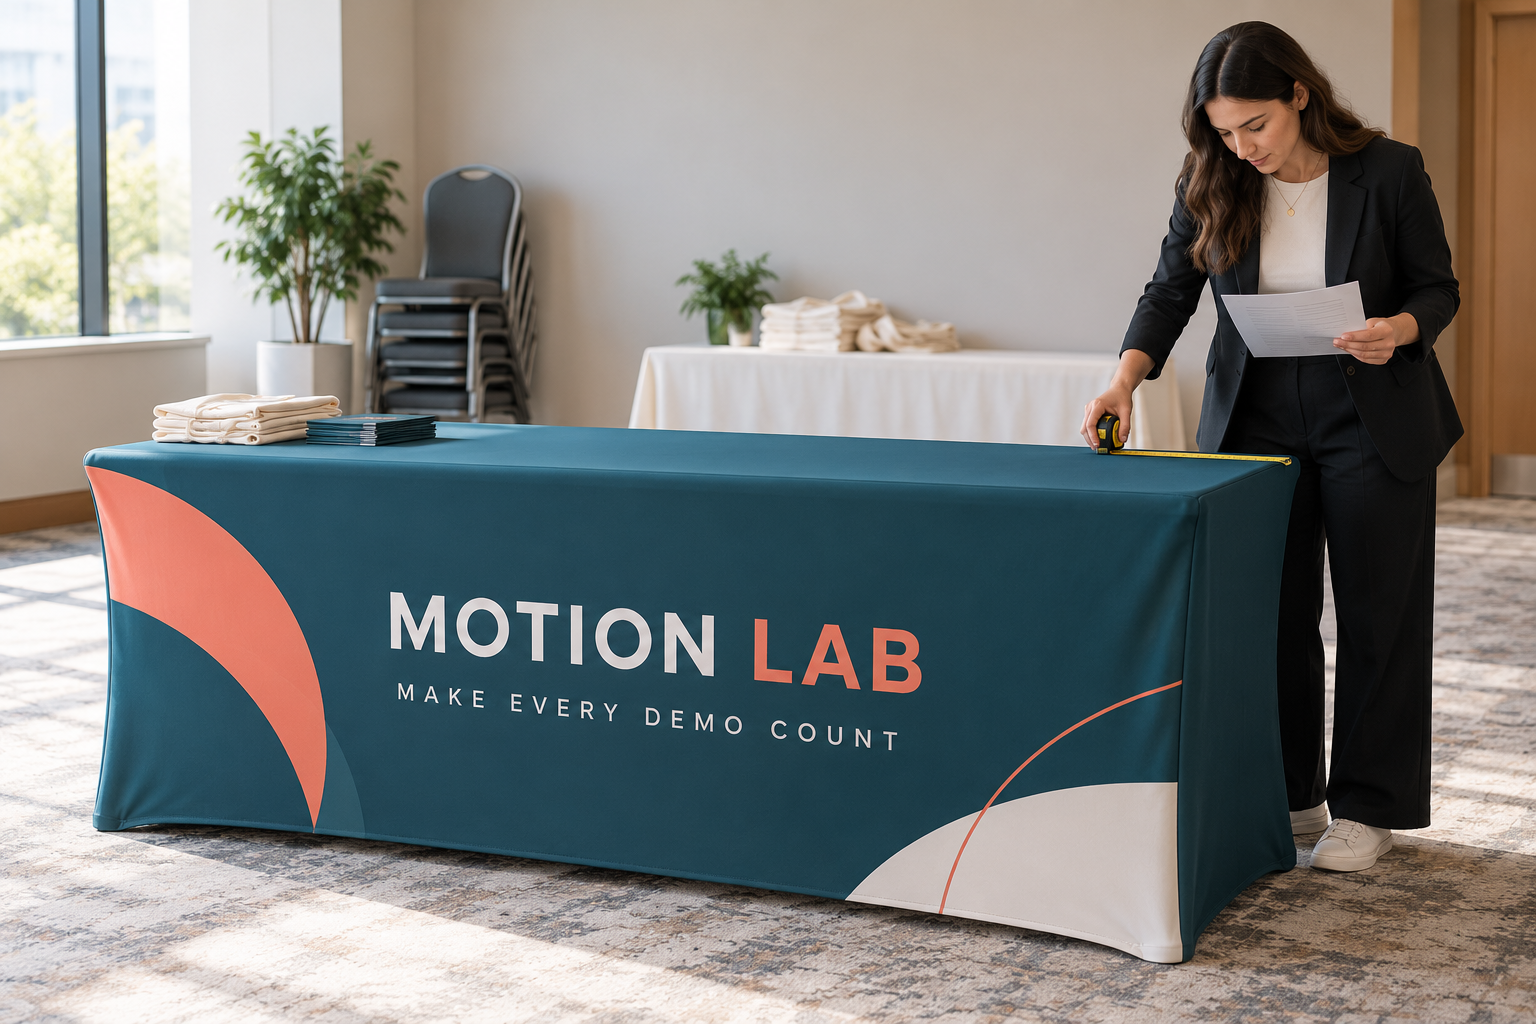
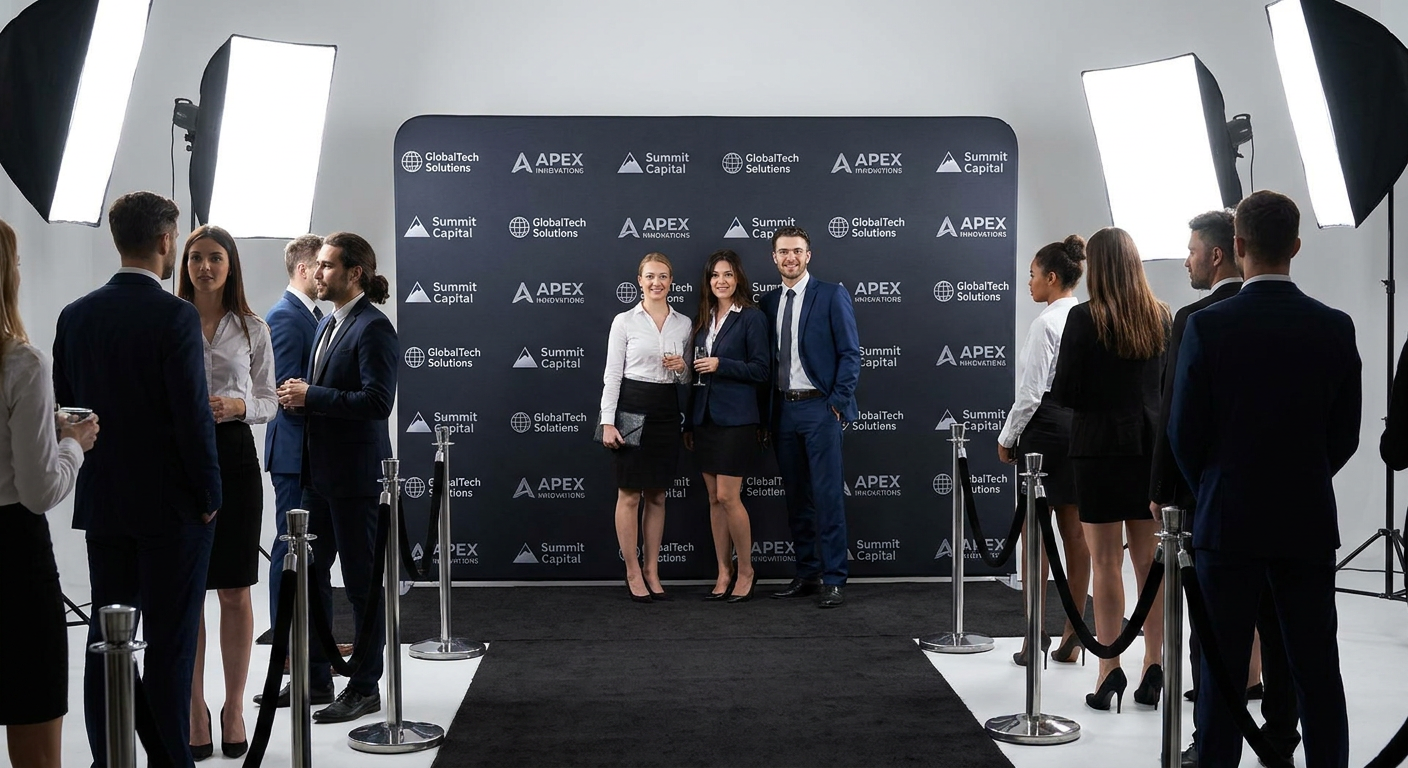
At high-stakes corporate galas, award ceremonies, trade shows, and press conferences, the step and repeat backdrop serves as the central engine for offline-to-online brand exposure. Every photo taken in front of the wall—whether by professional event photographers or guests sharing to social media—turns into a permanent brand asset.
However, improper sizing, reflective materials, or poorly spaced logos can ruin hundreds of event photos. A backdrop that is too narrow forces group shots to show unsightly venue walls, while glossy materials reflect camera flash, creating unreadable white hot spots over company logos.
This technical buyer’s guide breaks down the physical calculations, photographic glare science, logo grid geometry, hardware frame options, and lighting setups required to build a flawless step and repeat backdrop for your next event.
Key Takeaway: A successful step and repeat backdrop balances physical venue footprint, subject capacity math, anti-glare fabric selection, and staggered logo geometry so every captured frame displays clear, unobstructed branding.
Step and Repeat Backdrop Sizing Rules
Choosing the correct backdrop dimensions requires balancing two parameters: the maximum number of subjects standing side-by-side in a single photo frame, and the physical ceiling and floor dimensions of your venue.
The 2-Foot Per Person Rule
A practical benchmark for event photo-op planning is allocating 2 feet of backdrop width per person standing in line. For instance, a pair posing together requires a minimum 4-foot width, while a corporate team of five requires at least 10 feet of horizontal coverage to ensure guests do not spill past the banner edges.
In photographic composition, keeping additional backdrop width on both sides of the subject group provides essential margin for camera framing and wide-angle lenses.
Height Floor: Why 8 Feet Is Standard
The standard industry height for event backdrops is 8 feet (96 inches). While 7-foot banners exist for low-ceiling rooms, an 8-foot vertical height provides necessary overhead clearance for tall guests, high heels, and camera angles positioned slightly below eye level. Anything shorter than 8 feet risks exposing frame hardware or ceiling fixtures in full-body photo shots.
Standard Dimension Matrix
The following matrix details common event backdrop configurations, their subject capacities, and recommended venue applications according to standard step and repeat banner dimensions:
Backdrop Dimensions (W × H) | Maximum Subjects in Frame | Ideal Event Application | Minimum Floor Space Needed |
|---|---|---|---|
8 ft × 8 ft | 2–3 subjects | Compact trade show booths, intimate galas, VIP pair photo-ops | 10 ft W × 8 ft D |
10 ft × 8 ft | 4–6 subjects | Corporate award galas, panel discussions, team group photos | 12 ft W × 10 ft D |
12 ft × 8 ft | 6–8 subjects | Executive team lineups, influencer activations, medium press lines | 14 ft W × 10 ft D |
16 ft × 8 ft to 20 ft × 8 ft | 8–12+ subjects | Red carpet premieres, multi-camera media walls, major conventions | 20 ft+ W × 12 ft D |
Pro Tip: If venue constraints force a choice between extra height or extra width, choose the wider banner. It is simple for event photographers to crop excess overhead space during post-production, but impossible to recover background coverage if guests stand outside the banner boundary.
Material Selection Physics: Tension Fabric vs. Matte Vinyl vs. Glossy Vinyl
The print substrate directly impacts photo quality under studio flash and event lighting. Selecting the wrong material finish can render logos unreadable in high-resolution photography.
Tension Polyester Fabric (The Industry Standard)
Pillowcase tension fabric—crafted from dense polyester knit—is the gold standard for high-profile photo backdrops.
100% Glare-Free: Polyester fibers absorb and diffuse camera flash evenly, eliminating hot spots and harsh light bounce.
Wrinkle Resistance: Elastic elastane content allows the fabric to stretch taut over aluminum frames, pulling out fold lines automatically.
Logistics Convenience: Tension fabric folds into a compact carry bag, machine-washes easily, and weighs a fraction of heavy vinyl rolls.
Matte Vinyl (Durable Outdoor Alternative)
Heavyweight 13 oz to 18 oz matte vinyl offers a durable, wipe-clean solution for outdoor festivals and multi-day activations exposed to moisture or dirt. While high-grade matte vinyl reduces reflection significantly compared to standard banner materials, it must be rolled onto rigid cardboard tubes for transport. Folding matte vinyl creates permanent white crease lines across printed logos.
Glossy Vinyl (Strictly Avoid)
Glossy vinyl should never be specified for event photo backdrops. Under direct camera flash or overhead spotlighting, glossy surfaces act like mirrors, creating intense specular reflections that blind the camera sensor and obliterate corporate logos.
Performance Metric | Tension Polyester Fabric | Heavyweight Matte Vinyl | Glossy Vinyl |
|---|---|---|---|
Flash Glare Resistance | Excellent (100% Diffusion) | Moderate to High | Poor (Heavy Reflection) |
Wrinkle Recovery | Automatic (Tension Stretch) | Requires Rolling Only | Permanent Creasing |
Outdoor Weather Durability | Good (Indoor/Covered Recommended) | Superior (Waterproof & Wipeable) | Superior |
Transport Portability | Foldable & Lightweight | Roll Only (Long Packaging) | Roll Only |
Print Method | Dye-Sublimation | Solvent / UV Ink | UV Ink |
Logo Grid Layout Masterclass
A frequent graphic design error on event backdrops is placing logos in straight, un-staggered columns. When guests stand in front of a grid with aligned vertical columns, their heads and shoulders completely block entire vertical lines of branding.
The Staggered Offset Grid (Checkerboard Pattern)
Professional event media walls utilize a staggered logo grid layout. By shifting alternating horizontal rows by 50% of the logo spacing width, at least one full logo remains clearly visible beside each guest’s head and shoulders, regardless of height or standing position.
Item | Detail |
|---|---|
Row 1 | [ Logo A ] [ Logo B ] [ Logo A ] [ Logo B ] |
Row 2 | [ Logo B ] [ Logo A ] [ Logo B ] [ Logo A ] |
Row 3 | [ Logo A ] [ Logo B ] [ Logo A ] [ Logo B ] |
Row 4 | [ Logo B ] [ Logo A ] [ Logo B ] [ Logo A ] |
Logo Sizing and Spacing Formulas
Logos printed on event backdrops must be calibrated for medium-distance telephoto camera lenses (typically 50mm to 85mm focal lengths):
Square or Round Logos: Target 5 to 7 inches in diameter.
Horizontal Wordmark Logos: Target 8 to 12 inches in total width.
Row Separation: Maintain 8 to 12 inches of clear negative space between horizontal rows.
Grid Density: On a standard 8-foot tall backdrop, aim for 4 to 6 horizontal rows.
Color Contrast Ratios
To ensure logos register clearly in digital photos and video feeds, maintain a minimum 70% visual contrast ratio between the background and brand mark vectors. Solid white or neutral light gray backgrounds paired with rich, dark corporate colors deliver maximum legibility under event lighting.
⚠️ Warning: Avoid placing small, dense text blocks (such as website URLs or fine slogans) inside step and repeat grids. Small typography blurs in wide-angle photos and creates visual noise behind guests.
Backdrop Frame & Hardware Systems
Selecting the right support frame determines how fast your field marketing crew can assemble and dismantle the photo wall on-site.
1. Pillowcase Snap-Tube Frames
Constructed from lightweight aluminum tubing with push-button snaps, pillowcase frames feature a fabric sleeve that slides over the entire structure and zips closed at the bottom. This design hides all metal uprights, creating a sleek, borderless presentation.
2. Telescopic Pole & Base Stands
Telescopic systems use heavy steel base plates, vertical telescoping poles, and horizontal crossbars that pass through pole pockets sewn into the top and bottom of the banner. They offer adjustable width and height settings, making them adaptable to varying venue ceiling heights.
3. Pop-Up Accordion Frames
Built with an expanding aluminum scissor truss, pop-up frames collapse into a compact unit. The fabric banner remains pre-attached via hook-and-loop fasteners, allowing full setup in under three minutes without tools.
4. Modular Hard Panels & Wooden Truss Systems
For broadcast red carpets, award galas, and press wall and media backdrop configurations, event production crews utilize rigid wood or aluminum truss systems faced with seamless stretched fabric or hard printed composite boards.
Lighting Geometry & Camera Positioning
Even a premium tension fabric backdrop will look flat or shadowy if the event lighting geometry is misaligned.
Studio Flash & Continuous LED Placement
Position two continuous LED softboxes or off-camera flash units at 45-degree angles to the backdrop on camera-left and camera-right. Raising the light stands to approximately 7 feet high and angling them down toward the subjects diffuses hard shadows away from the backdrop surface.
STEP AND REPEAT BACKDROP
(Light 45°) (Light 45°)
SUBJECTS / CAMERA /
Camera Pullback and Lens Placement
Instruct photographers to position camera tripods 8 to 12 feet back from the backdrop baseline. Setting the camera height at 5 feet (chest/eye level) maintains natural perspective and prevents vertical distortion of the logo grid.
Carpet Runner Integration
Align a plush red, black, or custom-branded carpet runner flush against the front base of the backdrop stand. Placing a discreet “step line” of gaffer tape on the floor 4 to 5 feet in front of the backdrop guides guests into the optimal focal plane.
Event Producer Pre-Event & Tear-Down Checklist
Executing a flawless photo activation requires methodical preparation. Use this pre-event operational checklist prior to doors opening:
Pre-Event Design & Order Stage
Confirm vector logo files (.EPS or .SVG) and convert fonts to outlines.
Calculate subject capacity and verify venue ceiling height and floor depth.
Specify glare-free tension polyester fabric with dye-sublimation printing.
Approve digital proofs verifying staggered 50% offset grid layout.
On-Site Assembly Stage (2 Hours Before Doors)
Inspect floor area for level surface and clear overhead fixtures.
Assemble aluminum frame hardware and verify base plate thumb screws are tight.
Slide fabric sleeve over frame, pull taut, and secure zipper or tension clips.
Use a handheld garment steamer to remove any minor shipping fold lines.
Set 45-degree key/fill lighting and execute test photo shots with camera flash.
Tape floor step line 4 to 5 feet in front of banner base.
Tear-Down Stage
Disconnect lighting and allow units to cool completely before packing.
Unzip fabric sleeve, gently remove from frame, and fold neatly into carry bag.
Disassemble frame poles and pack into padded travel case.
Event Signage Execution Summary
A professional step and repeat backdrop combines dimensional planning, non-reflective material selection, and precise logo layout math. By specifying tension fabric displays, applying staggered grid geometry, and setting balanced 45-degree lighting, event marketing teams can guarantee high-resolution, glare-free brand exposure across every photo capture.
For upcoming activations, evaluate your expected group sizes early, review venue ceiling tolerances, and ensure graphics are proofed at full 1:1 scale before final production.