Key takeaways
If your feather flag fails mid-campaign (frayed hem, torn sleeve, sun-bleached print), the real cost isn’t the replacement. It’s the missed foot traffic and the hit to brand perception.
Durability comes from a system: fabric + print method + reinforcement + the right pole and base for the site.
Double-sided flags solve a real problem (legibility from both directions), but you need to plan for the extra weight and cost.
The fastest way to de-risk your order is a tight proofing process and clear acceptance criteria before it goes to print.
TL;DR
In 2026, durability is the new ROI for custom feather flags.
A cheap flag that fades or frays in a few months doesn’t just cost you another flag. It can cost you the campaign window you were trying to capture.
If you’re buying for a UK event calendar with fixed dates, focus on:
fabric built for wind and sun (including mesh feather flags for exposed sites)
print methods that won’t peel
reinforcement where flags actually fail (sleeves, hems, corners)
hardware matched to the surface (pavement vs grass) and exposure (calm vs gusty)
If you want a durable, event-ready setup with proof approval and fast delivery, start with Vancke.
Why durability is the new ROI (and how flags really fail)
Most buyers don’t regret the design. They regret the failure mode.
Outdoor feather flags tend to fail in three predictable ways:
Edge wear and fraying from constant flutter.
Sleeve or pocket damage where the pole rubs and flexes.
UV fading that makes a crisp brand look tired fast.
Your ROI comes from how long the flag stays “presentable enough to represent you.” That’s why you should judge a flag like a piece of equipment, not a disposable print.
Key Takeaway: The cheapest flag is only “cheap” if it stays up, stays readable, and doesn’t fail during your highest-traffic days.
The anatomy of custom feather flags that last
A quick note on cost
If you’re comparing quotes, don’t compare “flag kits” as if they’re identical. Compare specs. A heavier fabric, a reinforced sleeve, and a base that won’t tip are exactly what you’re paying for.
1) Fabric: choose for wind exposure, not just price
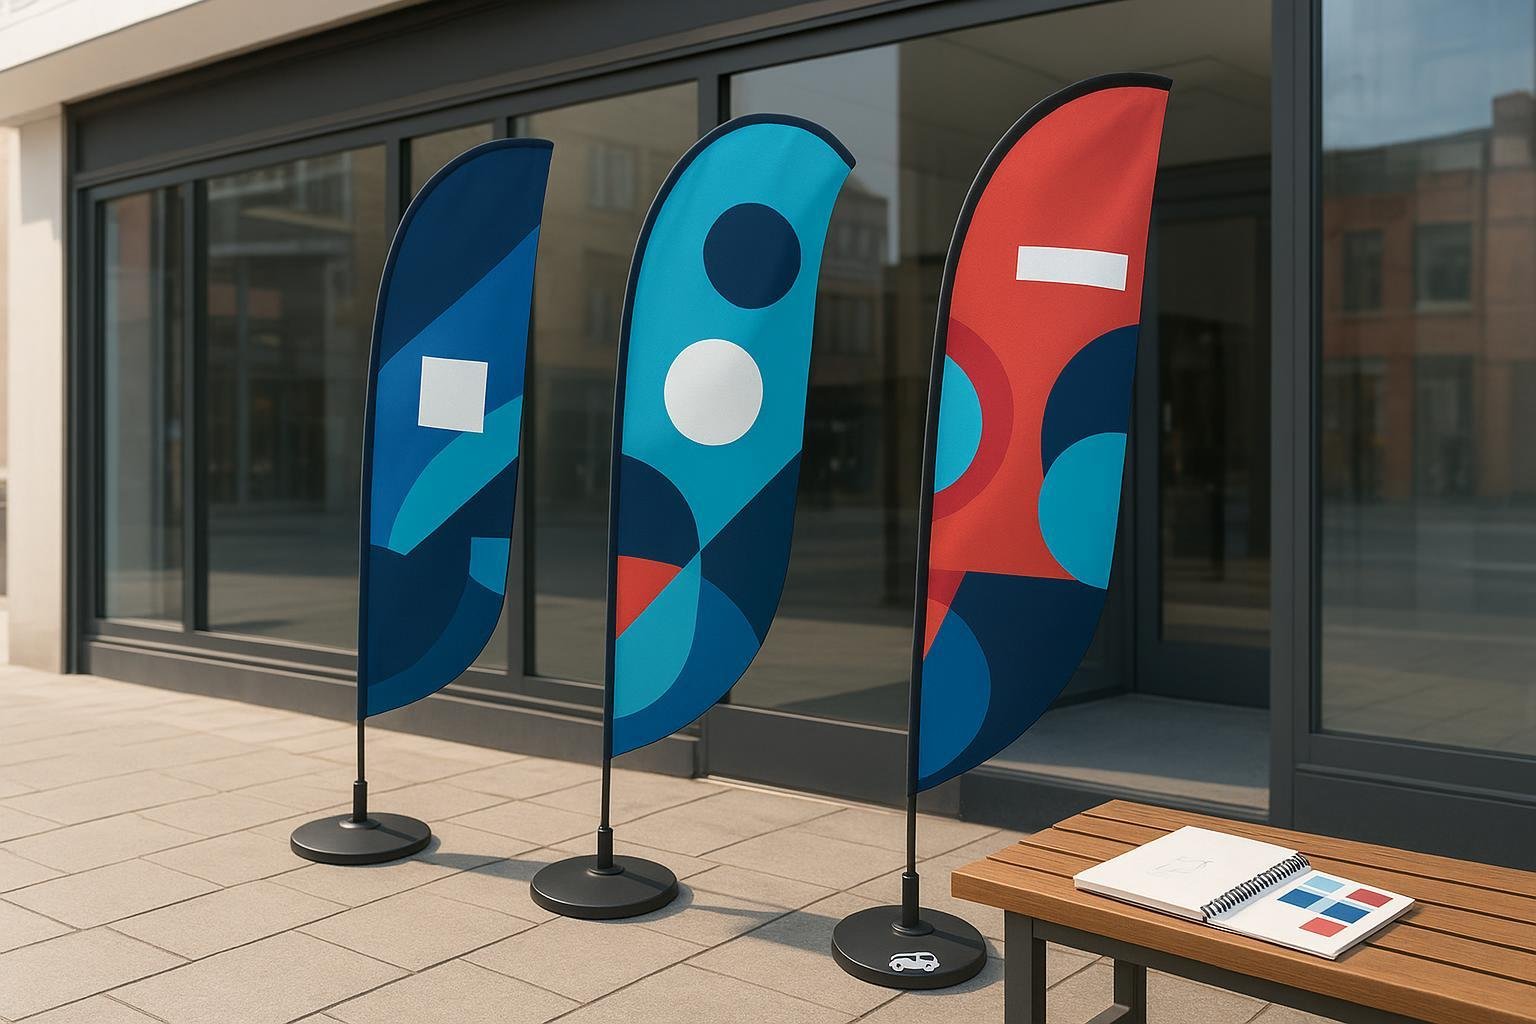
If you’re installing in a sheltered spot (inside a venue entrance, behind a glass frontage, or in a calm courtyard), standard polyester can be fine.
If you’re installing where wind is a real factor (street-facing frontage, open retail parks, coastal areas), you want a fabric that reduces load.
A practical way to think about it:
Knitted polyester is a common baseline for feather flags.
Mesh / perforated fabric is often chosen for high-wind placement because it lets air pass through, reducing stress on seams and hardware.
Vancke’s product positioning emphasizes outdoor durability and mentions flags lasting 2–3 years with proper care and storage on its feather flag page, plus a reminder to bring flags down in extreme weather.
2) Print method: avoid surface prints that peel
For outdoor flags, the durability issue isn’t only colour fade. It’s also whether the print feels like it’s “on top of” the fabric.
Many flag suppliers use dye sublimation printing for a reason: it’s widely described as a method where dye bonds into the fibres rather than sitting on the surface, which helps reduce peeling and supports longer outdoor life. (If you’re comparing vendors, ask directly how they print and what’s standard for their flags.)
Vancke states it uses digital heat transfer printing for feather flags on its product page.
3) Reinforcement: sleeve and hems matter more than you think
The weakest point on most outdoor flags isn’t the middle panel. It’s the stress points:
the pole sleeve / pocket (constant friction + flex)
the bottom hem (whip effect in wind)
corners and stitch starts
If you’re specifying durability, don’t just ask “is it heavy-duty?” Ask what’s reinforced and how.
The areas that matter most: reinforced pole sleeves (often with heavier Oxford-style fabric) and stronger hems including triple stitching. These are the parts that keep a flag from turning into a replacement order.
For specs, base options, and ordering details, see Vancke’s custom feather flags page.
Single-sided vs double-sided: pick based on traffic flow
This choice is usually obvious once you picture the placement.
Single-sided feather flags
Choose single-sided when:
most traffic comes from one direction (roadside, perimeter fencing)
motion matters more than perfect two-way readability
you want lower cost per unit for multi-location rollouts
Double-sided feather flags
Choose double-sided when:
pedestrians approach from both directions
you’re at a junction, entrance, or walkway where “back side” views are common
you need a premium look up close
Double-sided feather flags are commonly built with two printed layers and a blockout liner in between to prevent show-through so each side reads correctly.
Vancke explains the same three-layer idea (two flags sewn together with a blackout layer) in its feather flags article: How customized feather flags can help improve local businesses.
Pro Tip: If you choose double-sided, also upgrade the base. You’re putting more weight and wind load into the system.
Hardware that actually survives outdoors: pole + base + site match
Feather flag bases: stability is part of print quality
If the base wobbles or tips, your print quality doesn’t matter. Your message is literally not visible.
For exposed, high-traffic sites, treat feather flag bases as a safety and uptime decision, not an accessory. Match the base to the surface and plan for ballast on hard ground.
Durability isn’t only fabric and print. Hardware is where “looks fine on day one” turns into “we had to take it down.”
Poles: flexibility is a feature
Feather flag poles need to flex. A pole that’s too rigid transfers stress into the sleeve and seams.
Pole materials vary — fiberglass, carbon, or hybrids. The procurement question stays the same:
Does it flex without kinking?
Are the sections tight-fitting so they don’t wobble over time?
Is the sleeve built to handle that flex?
Bases: choose for the surface, then for wind
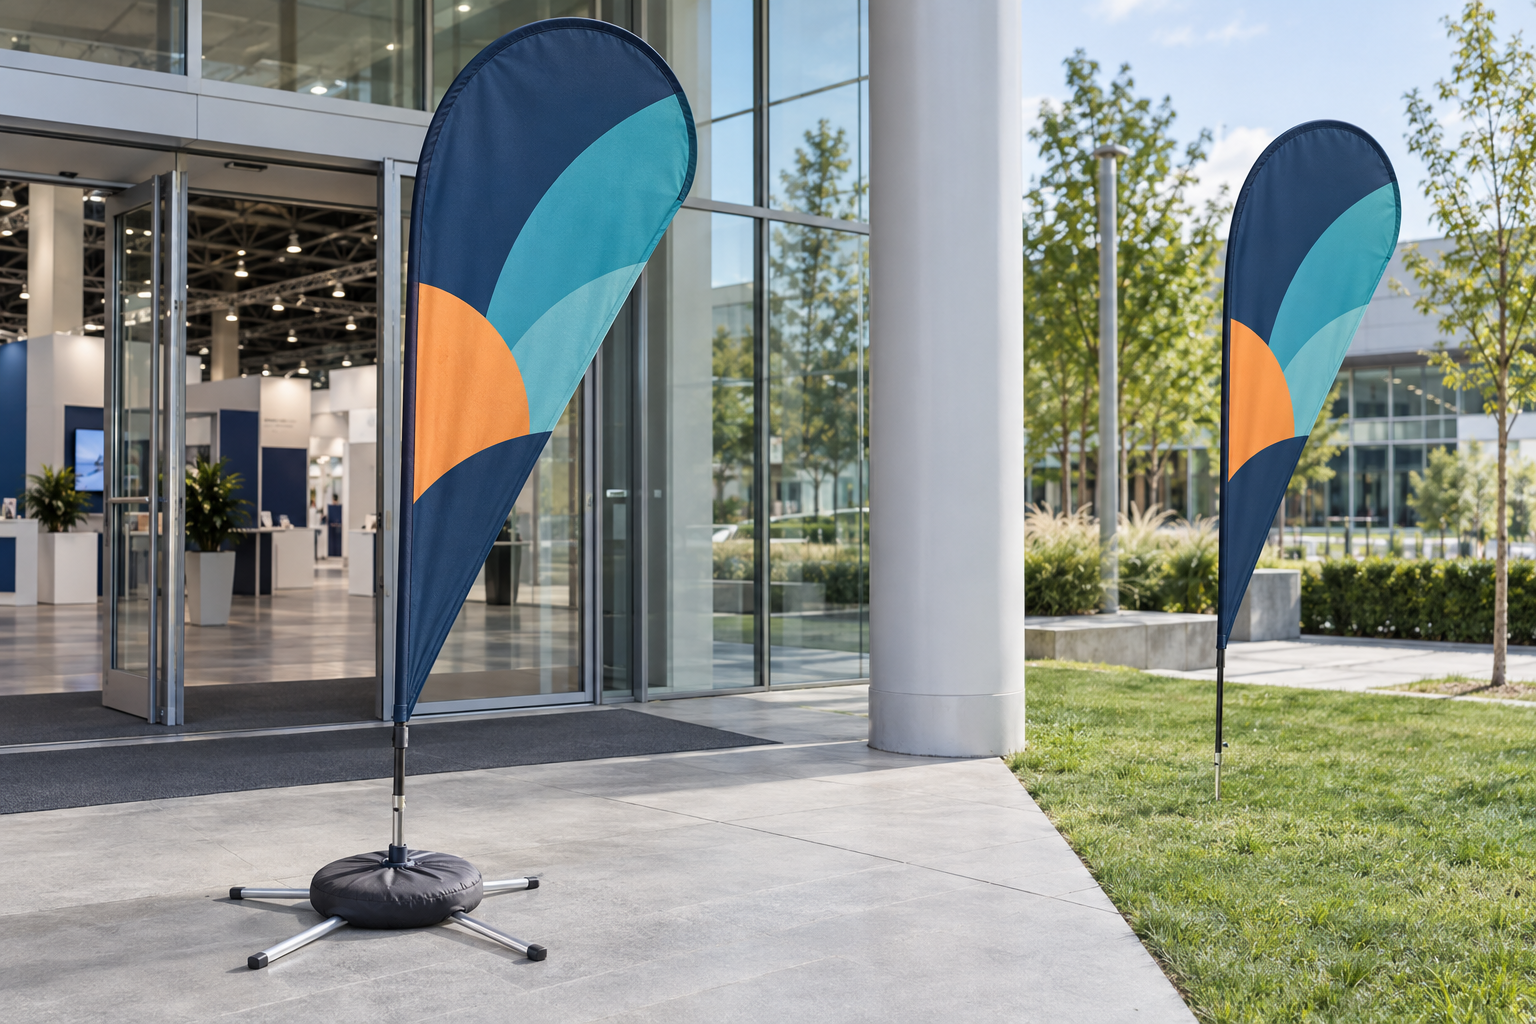
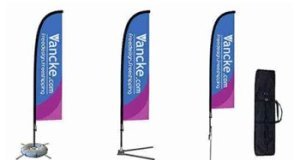
Vancke’s feather flag page calls out common base choices:
Ground stake for soft surfaces like grass
Cross base / water-filled base for hard surfaces like pavement
Source: Vancke custom feather flags.
A good rule: for pavement installs, plan for weight (water bag or heavy base) earlier than you think you need it.
Decision-stage comparison: premium build vs economy build
Use this table as an approval checklist when you’re comparing quotes.
Feature | Better durability signal | Red flag |
|---|---|---|
Fabric | Flag-grade polyester, mesh option for windy sites | “Any fabric” with no weight or spec |
Print method | Dye-sublimation or heat-transfer designed for outdoor use | Surface print that can crack/peel |
Reinforcement | Reinforced sleeve/pocket + strong hems | No mention of reinforcement |
Hardware | Flexible pole + base options matched to surface | One base for all placements |
Proofing | Digital proof approval process | “We’ll print what you upload” |
Logistics | Clear lead time and shipping method | Vague timelines and no process |
Design for distance: the 3-second rule
Your feather flag has about three seconds to work for you.
For roadside or foot traffic, keep the design simple enough that it reads instantly:
one primary message (or just the brand + offer)
high-contrast colours
bold sans-serif type
avoid putting critical info in the extreme top curve
If you’re using Vancke’s design support, the value isn’t “pretty.” It’s practical: correct scale, safe margins, and layout choices that match the feather shape.
Vancke describes free design and proof approval as part of its ordering process on its article “Key considerations for custom flag printing.”
A buying checklist you can hand to procurement
Use this before you approve a PO.
A) Fit and placement checklist
Site surface confirmed (grass/soil vs pavement)
Exposure confirmed (sheltered, moderate, high wind)
Traffic direction confirmed (one-way vs two-way)
Flag size chosen to match sightlines (storefront vs car park vs event entrance)
B) Durability checklist
Fabric spec is stated (and mesh option considered for exposed sites)
Print method is stated (not “full colour” only)
Reinforcement is specified (sleeve/pocket + hems)
Care guidance is clear (take down in extreme weather; store dry)
C) Proofing + QA checklist
Digital proof reviewed for typos, layout, and brand colours
Colour expectations documented (Pantone references if needed)
Final approval captured in writing before production
Vancke outlines a proof-first workflow and what to check in the proof stage here: Key considerations for custom flag printing.
D) Timeline and delivery checklist
Event date and “must-arrive-by” date confirmed
Production start is tied to proof approval
Shipping method and destination details confirmed
Vancke states a 5–7 day lead time for printing and delivery on its teardrop flags page, using the same proof-to-production framing.
Ordering from Vancke (what to expect)
Here’s the straightforward version of the process, based on Vancke’s ordering steps:
Send your requirements and artwork (or ask for free layout support).
Review the digital proof.
Approve the proof, confirm price.
Production starts after approval and payment.
Dispatch with free shipping.
Source: Vancke custom teardrop flags and Vancke’s custom feather flags page.
Optional video: what wind looks like in real life
If you’re planning placement in an exposed location, it helps to see how feather flags move under gusts.
Next steps
If you’re ready to lock the order, you’ll get the fastest outcome by doing two things:
Request a free layout and proof so you can confirm readability and safe margins.
Confirm the surface type and exposure level so the base and fabric match the site.
Start here: Vancke’s custom feather flags page.