Custom Feather Flags: A Buyer’s Guide to Bases, Sides, and Setup
A custom feather flag can make an entrance, route, registration point, or roadside promotion easier to recognize. But the product name alone is not a complete buying brief. Before you request a quote, you need to define where the flag will stand, which direction people will approach from, what they must see, and which parts of the display must arrive together.
That matters because a flag that looks right in an isolated artwork file can be wrong for the surface, viewing angle, or operating routine at the venue. A soft-ground event may need a ground spike. A polished indoor floor calls for a different base arrangement. A route seen from both directions may require a double-sided construction or two clearly planned messages. The safest purchase decision starts with the deployment problem, then selects the display configuration that can support it.
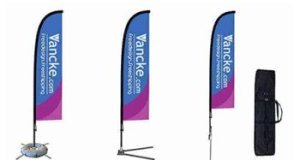
Vancke describes its custom feather flags as available in multiple sizes, base options, and single- or double-sided constructions. The complete display can include the printed flag, pole set, base, and carry bag. Use the guide below to turn those options into a quote-ready decision.
1. Define the job before choosing the flag
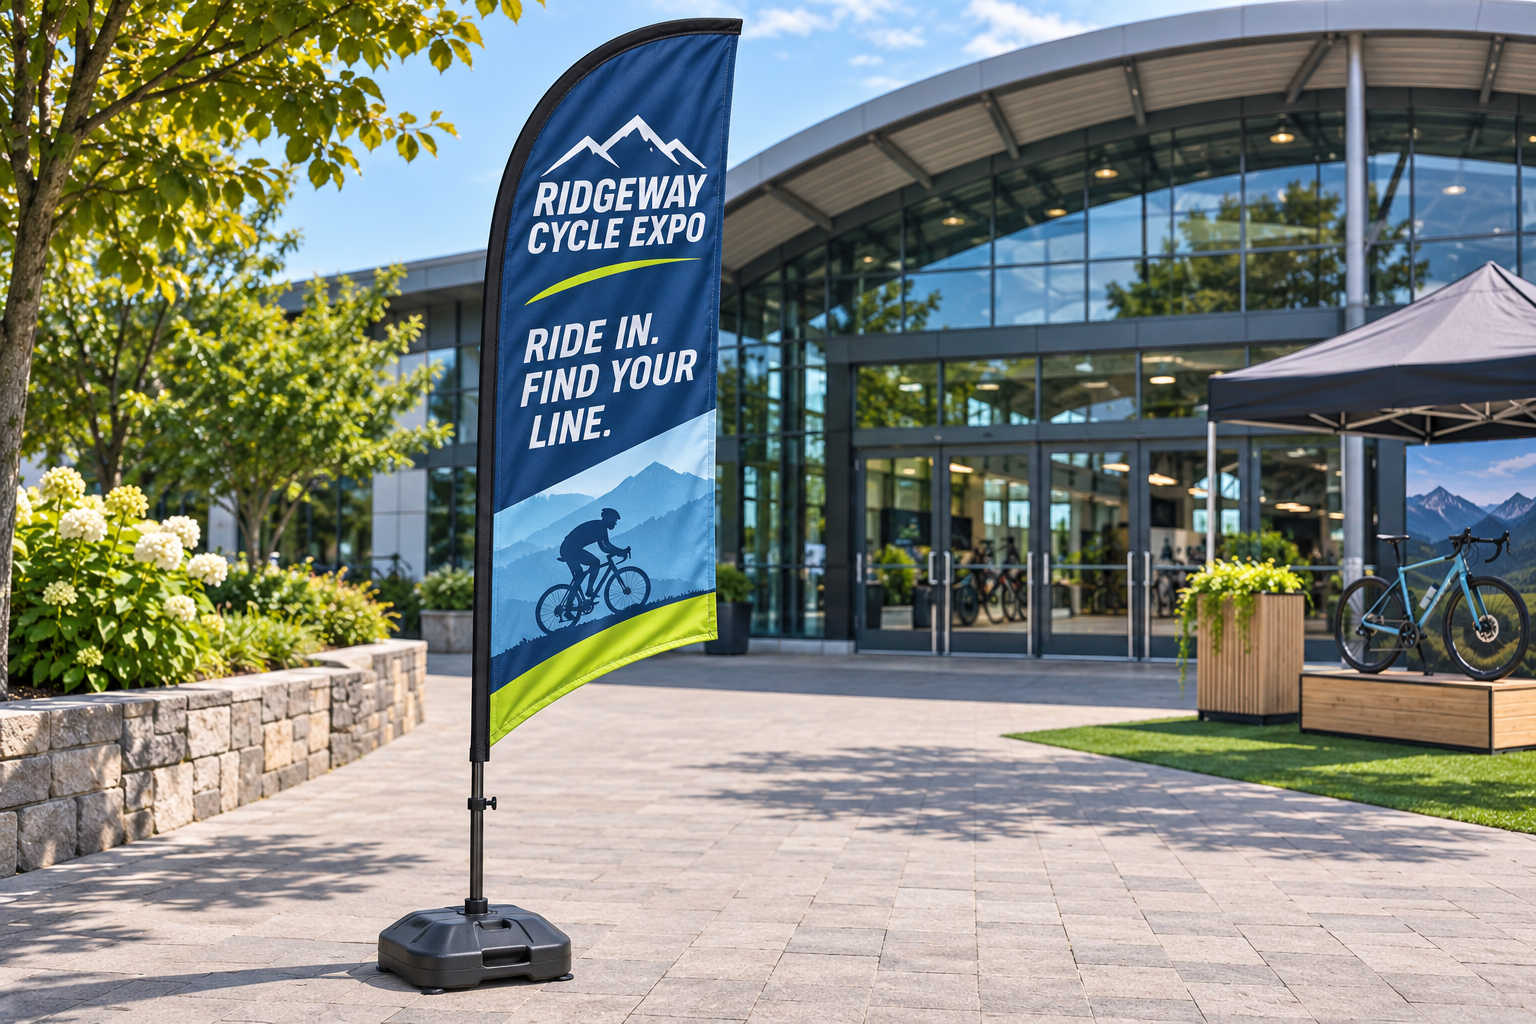
Write one sentence that explains what the flag must help someone do. For example: “Guide cycling-expo visitors from the plaza to registration,” or “Make a retail promotion recognizable from the car park.” This is more useful than saying only “we need branded flags,” because it gives the artwork, placement, and base a shared purpose.
Then record three points on a simple site sketch:
- the first place a visitor can see the flag;
- the decision point where the visitor chooses a direction; and
- the destination where the visitor completes the action.
If the display will mark a single location, recognition may be the main job. If it will support a route, the message must remain useful while people are moving. If it will sit beside a booth, the flag may need to identify the brand and make the invitation feel open. One clear job prevents the printed surface from becoming a crowded list of everything the organizer wants to say.
2. Match the base to the deployment surface
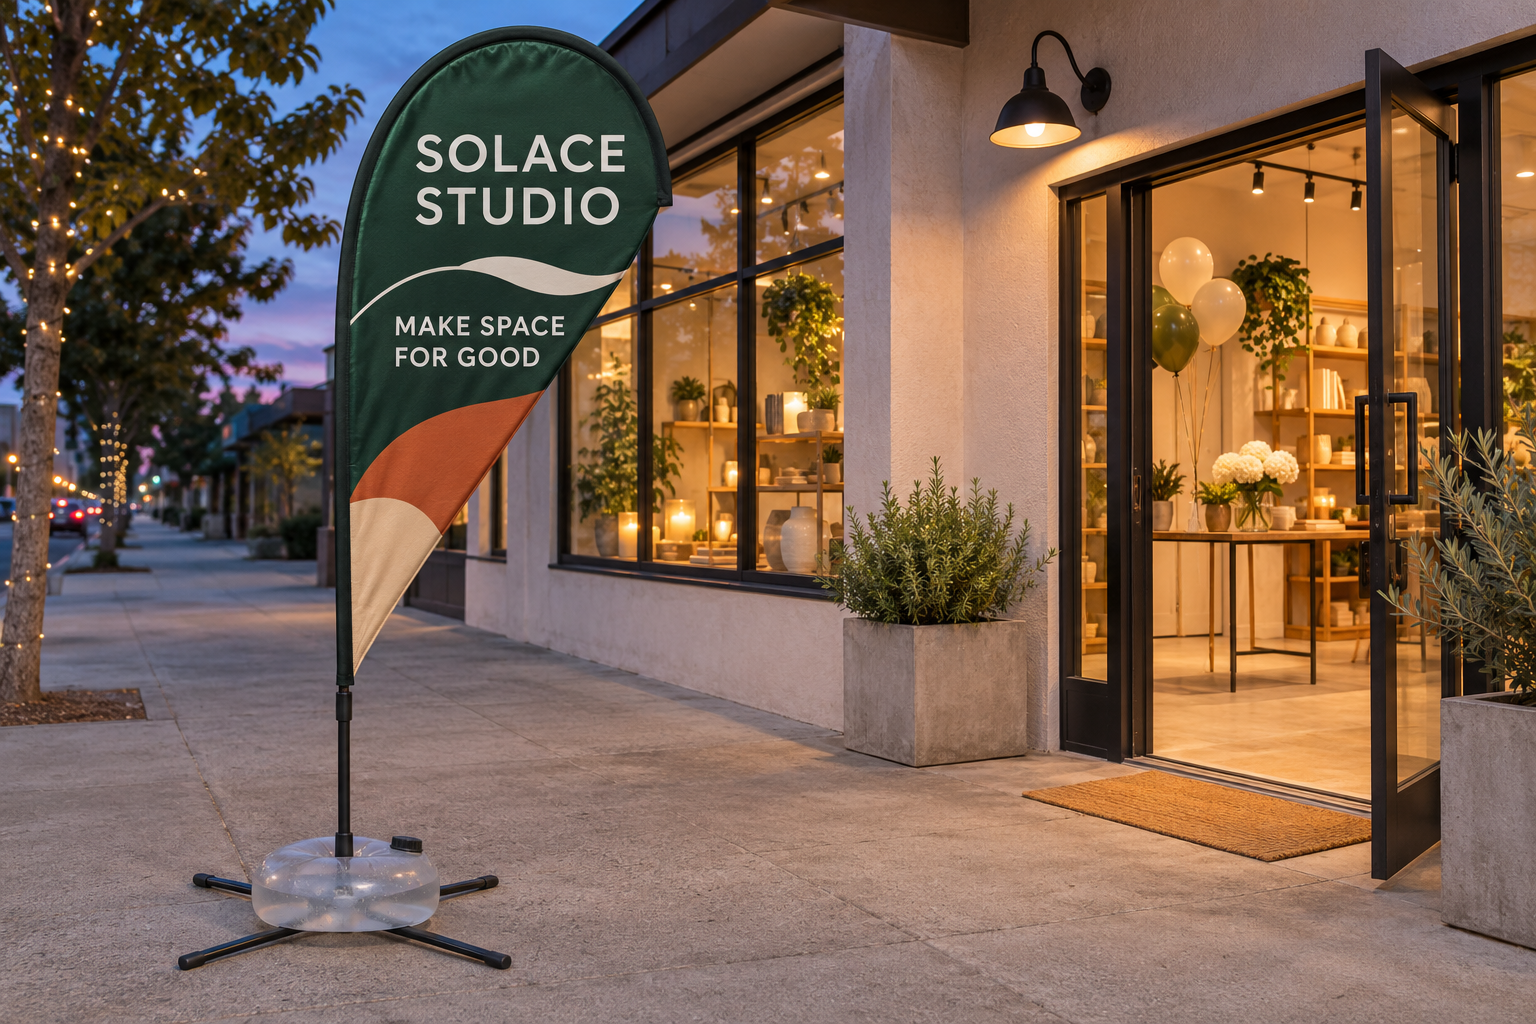
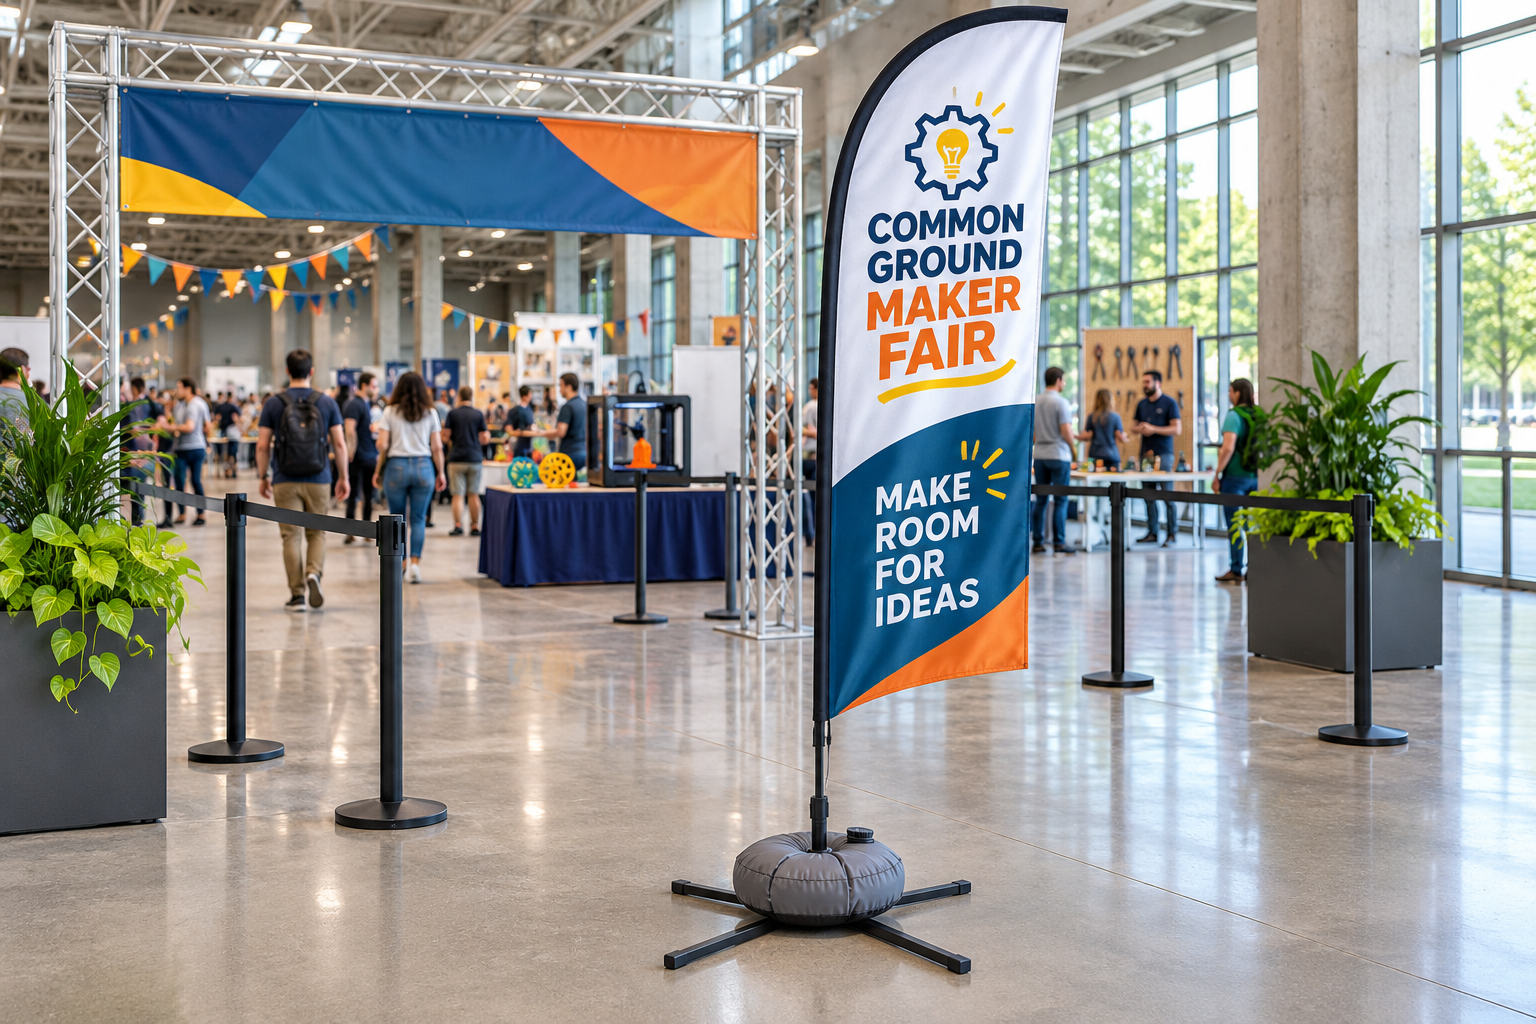
The surface under the flag is a purchase decision, not an afterthought. The approved configuration for indoor or other hard flooring is a four-arm cross base with a refillable water-weight bag centered over the base around the pole. This arrangement is visually different from a ground-spike setup and should be represented accurately in the brief and proof.
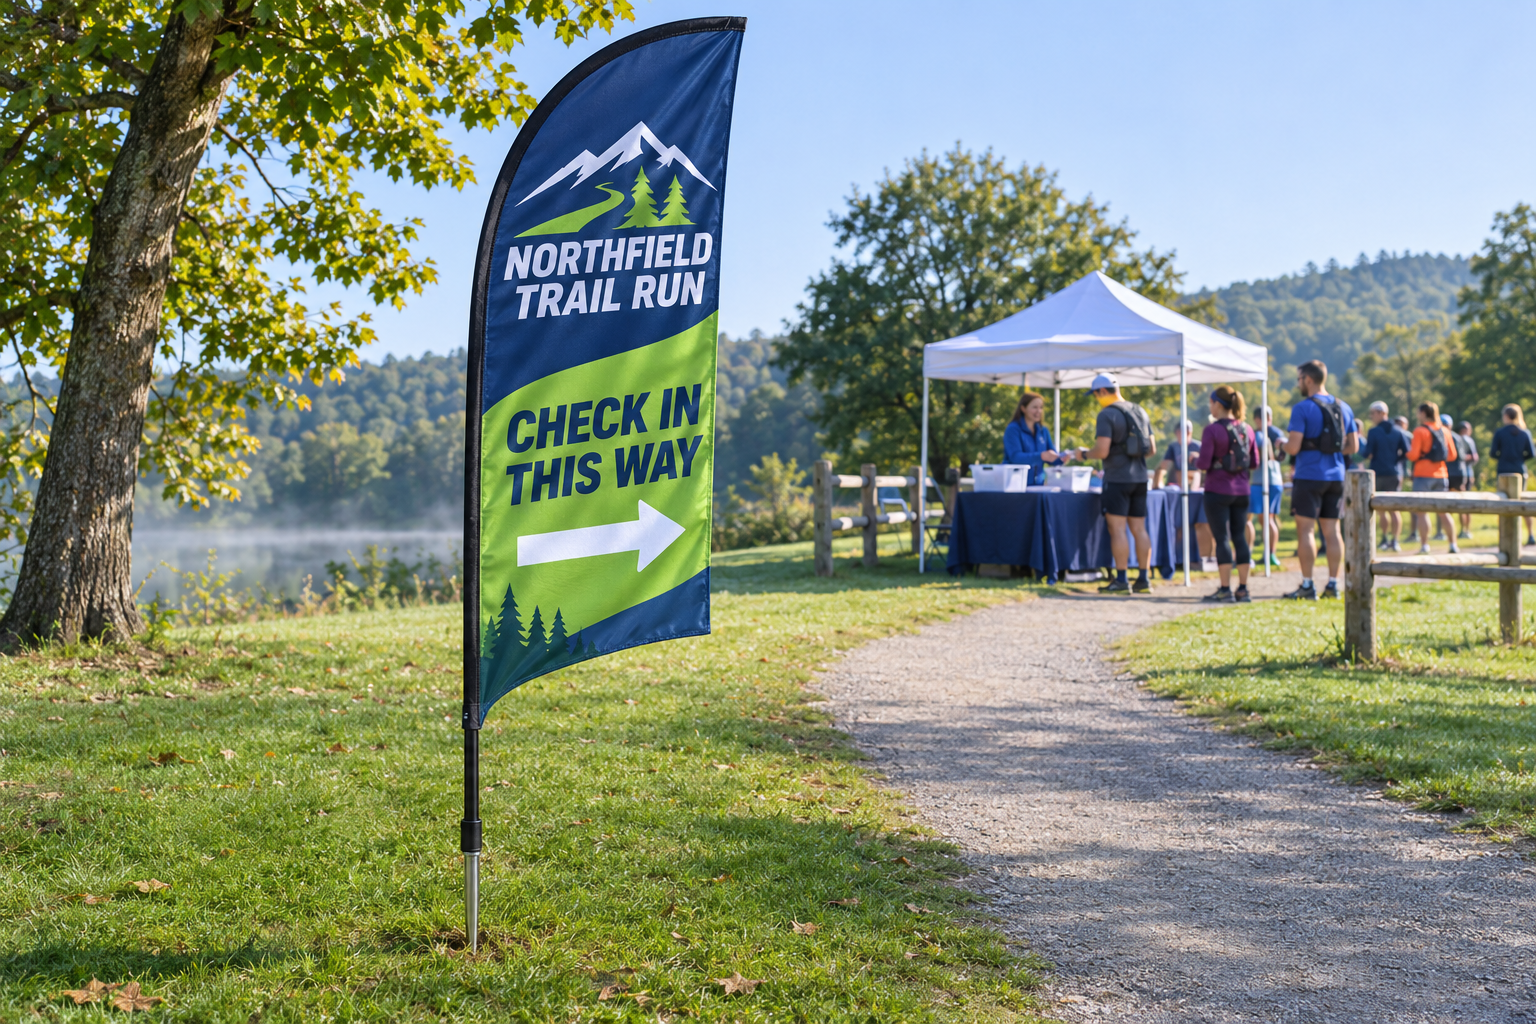
For grass, soft soil, or sand, the approved configuration is a ground-spike base with its pointed shaft inserted into the ground. That can suit an outdoor trail, field, or lawn when the venue permits the spike and the surface provides a practical place to insert it. Do not describe the site as simply “outdoor.” Tell the supplier whether the flag will stand on grass, compact soil, sand, asphalt, concrete, or an indoor floor.
Also note restrictions that may affect placement: protected flooring, underground services, paving, pedestrian clearance, vehicle movement, or venue rules about penetrations and weighted equipment. The flag supplier can advise on the available base options, but the venue remains responsible for approving the installation location and operating conditions.
3. Choose the viewing direction before the message hierarchy
Feather flags are often placed along approaches where people can see the display from more than one direction. Decide whether the same message must work on both approaches, or whether each face has a different role. A flag at an entrance may need to identify the event from the outside and confirm the destination from the inside. A roadside promotion may need a short brand cue that can be understood quickly from one dominant direction.
Vancke’s product information identifies single-sided reverse and double-sided constructions as available options. Treat that as a configuration choice to confirm for the specific order, not as permission to assume that any artwork will read identically from every angle. Put the intended viewing direction, priority message, and required construction into the inquiry.
Keep the hierarchy simple. The brand or event name should establish recognition. The main action or offer should tell the viewer why to continue. A short supporting line can remove one important doubt, but it should not compete with the main message. If the route depends on an arrow or directional phrase, test it from the actual approach rather than from the designer’s screen.
4. Decide whether one flag or a small system is needed
A single flag can identify a destination, but a sequence can support a longer journey. If people must pass a turn, a queue, and a registration point, decide which unit owns each communication task. The first flag can create recognition, the second can confirm the route, and the third can mark the destination.
Do not automatically order several identical flags. Repeating the same message may help with visibility, but it can also waste the opportunity to answer the next question. If multiple units are required, label each artwork version by location and approach direction. The production file name should tell the event team which flag goes at the entrance, the turn, and the final point.
For distributors, advertising production companies, and print shops, this small labeling step protects the handoff between customer approval and event setup. It also makes a future reorder more useful because the team retains a map of the display system rather than only a generic product name.
5. Select the complete kit, not only the printed fabric
Ask what the customer expects to receive and who will carry, assemble, and store it. A complete display can include the printed flag, pole set, base, and carry bag. If the quote describes only the fabric, the buyer may still need to source the support components or discover a missing piece during setup.
Use a short kit checklist:
- printed flag and the approved artwork version;
- pole set matched to the selected flag configuration;
- base suitable for the stated surface;
- carry bag if the display will be transported between locations; and
- any setup notes the venue or installation owner needs.
Clarify the quantity of complete kits versus replacement graphics. A customer ordering three flags for three locations may need three poles and three bases, while a customer refreshing graphics for an existing fleet may need a different package. The distinction affects the quote, the packing plan, and the event-day check.
6. Use size as a sightline decision
Multiple sizes are available, so size should be selected against the sightline rather than by habit. Note the distance from the approach, nearby structures, expected crowd density, and whether the flag must compete with a tent, building, vehicles, or other displays. A larger flag may help at a long approach, while a smaller flag may be more practical in a constrained walkway. The correct choice depends on the site and the role assigned to the flag.
Do not ask for the largest available option without checking the footprint and the visual field. The flag must remain readable without creating a physical obstruction or conflicting with venue rules. Record the available height and floor area in the inquiry, and ask the supplier to confirm the suitable size and base combination for the actual location.
7. Prepare artwork around the real viewing moment
Artwork approval should answer more than “Do we like the colors?” Ask whether the brand name, action, and supporting detail can be understood at the distance and speed of the intended viewer. Keep the primary line short enough to survive a quick glance. If the flag is part of a route, make the directional cue visually decisive and ensure it points to a route the venue can actually keep open.
Review Vancke’s artwork requirements before sending production files. If the message or logo is still changing, state that clearly in the inquiry instead of presenting an unapproved file as final. If design support is needed, describe the desired customer action, the viewing direction, and the available brand assets so the artwork discussion begins with the use case.
8. Write the quote request so the supplier can answer
A strong request is a compact decision record. Include:
- the product: custom feather flags;
- the number of complete displays and any replacement graphics;
- the intended site surface and whether the use is indoor or outdoor;
- the preferred base direction, or the question that still needs answering;
- single-sided or double-sided viewing needs;
- the approach direction, key sightline, and visitor action;
- the requested size range or the site dimensions;
- artwork status, logo files, colors, and any design-support requirement;
- destination, event date, required-arrival date, and latest proof deadline; and
- the person responsible for approving the proof and receiving the kit.
This information reduces the risk of a quote that is technically complete but operationally vague. It gives the supplier the context needed to discuss available bases, sizes, construction, artwork, and delivery timing for the specific project.
9. Protect the plan from weather and venue changes
Outdoor deployment adds a planning layer beyond the product selection. The National Weather Service’s wind safety guidance is a useful noncommercial reference for understanding why outdoor event teams should monitor conditions and follow the venue’s safety decisions. It does not replace the organizer’s site rules, local instructions, or a supplier’s product-specific guidance.
Assign one person to check the route and the base before opening, after a major layout change, and when conditions change. If a venue switches from lawn to pavement, or moves an entrance under a covered hall, revisit the base decision instead of assuming the original configuration still applies. The plan should say who can move, remove, or pause the display.
10. Convert the brief into a low-risk inquiry
Before sending the request, read the brief as if you were the person preparing the quote. Can you tell what the flag is supposed to do, where it will stand, which direction it must face, what arrives in the kit, and when it must be ready? If not, the missing information is likely to reappear later as a proof change, a base question, or an event-day surprise.
When the brief is ready, use Vancke’s contact page to send the product, surface, viewing direction, quantity, artwork status, destination, and required-arrival date. For more context on the product configuration, review the custom feather flags page alongside your site sketch. A precise inquiry gives the team a better starting point for recommending the appropriate setup and preparing a quote.
Final checklist
- The flag has one defined job in the customer journey.
- The deployment surface is named precisely.
- The base matches hard flooring, soft ground, or another approved site condition.
- The viewing direction and single- or double-sided need are recorded.
- The size is tied to a sightline and available footprint.
- The quote covers the complete kit or clearly identifies replacement parts.
- The artwork has a clear primary action and an approved status.
- The destination, event date, required-arrival date, and proof deadline are included.
- A named person owns venue approval and event-day setup.
Custom feather flags work best when the buying brief connects the printed message to the real place where people will see it. Decide the surface, base, viewing direction, size, kit, and timing before production, then send the supplier enough context to answer the actual deployment question. That turns a generic request for branded flags into a practical path toward a quote-ready order.